Creating and displaying an AlertDialog depends on the use-case of the application. But, the way of creating and displaying depends on the situation. There are several ways of creating it, so, this post is the first in the series of tutorials to create and display an AlertDialog.
In this series of tutorials, we will be learning from the basics of creating AlertDialog to add customization to it. Whether it is displaying custom view(s) on the dialog or handling the UI interaction of the dialog. All the source code will be available on GitHub and the link will be shared after completion of each post.
Series Index of AlertDialog
- Create AlertDialog and Basic Usage
- Provide Selection from a list of options
- Create AlertDialog with Custom Layout using XML Layout
- Create AlertDialog with custom layout programmatically
- Create AlertDialog with complex custom layout programmatically
- Override Button of AlertDialog
In this post, we will learn to create and use AlertDialog and try to implement all possible ways of using (not custom) AlertDialog.
Create Android Application Project
If you are new to Android Studio, then you could learn about creating new projects from our tutorial Create Android Application Project in Android Studio Continued.
Create Android application project with following attributes.
| Project Name | AlertDialog Demo |
|---|---|
| Package Name | com.pcsalt.example.alertdialogdemo |
| Minimum SDK Version | 21 |
| Activity Type | Empty Activity |
| Activity Name | MainActivity |
| Layout Name | activity_main |
Prepare layout to be displayed in the AlertDialog
We will have a Button in the Activity, and clicking on it will display the dialog. For this following is the code for layout.
main_activity.xml
<?xml version="1.0" encoding="utf-8"?>
<android.support.constraint.ConstraintLayout xmlns:android="http://schemas.android.com/apk/res/android"
    xmlns:app="http://schemas.android.com/apk/res-auto"
    android:layout_width="match_parent"
    android:layout_height="match_parent">
    <Button
        android:id="@+id/btn_show_dialog"
        android:layout_width="wrap_content"
        android:layout_height="wrap_content"
        android:text="Display Dialog"
        app:layout_constraintBottom_toBottomOf="parent"
        app:layout_constraintLeft_toLeftOf="parent"
        app:layout_constraintRight_toRightOf="parent"
        app:layout_constraintTop_toTopOf="parent" />
</android.support.constraint.ConstraintLayout>
Update MainActivity to display AlertDialog
We will be displaying all (non-custom) variants of AlertDialog in this application. For this add click listener to the button and display the dialog.
MainActivity.java
package com.pcsalt.example.alertdialogdemo;
import android.support.v7.app.AlertDialog;
import android.support.v7.app.AppCompatActivity;
import android.os.Bundle;
public class MainActivity extends AppCompatActivity {
    @Override
    protected void onCreate(Bundle savedInstanceState) {
        super.onCreate(savedInstanceState);
        setContentView(R.layout.activity_main);
        findViewById(R.id.btn_show_dialog).setOnClickListener(view -> showDialog());
    }
    private void showDialog() {
        AlertDialog.Builder dialogBuilder = new AlertDialog.Builder(this);
        dialogBuilder.setTitle("Info");
        dialogBuilder.setMessage("Some informative message for the user.");
        dialogBuilder.setPositiveButton("Done", (dialog, which) -> dialog.dismiss());
        dialogBuilder.create().show();
    }
}
In this showDialog(), we are displaying a dialog with title, message and a button. From now on, in this post only showDialog() method will be tweaked to display all types of native dialogs.

Understating the buttons of AlertDialog
AlertDialog have option to configure upto three buttons in it. Buttons are named as
- Positive Button: This button is displayed on the bottom left (or bottom-end) corner of the dialog. And, considered to have positive user feedback.
- Negative Button: This button is displayed before the positive button and, considered to have negative user feedback.
- Neutral Button: This button is placed on the bottom right (or bottom-start) corner of the dialog and allows user to provide neutral feedback.
The best example for these buttons could be the AlertDialog asking user to rate something. For this user should have three options, viz. Rate, Leave it, and May be, later.
In an AlertDialog any combination of the above three buttons can be used. For instance, any of the button could be used and others can be left like in the above example, we are using only positive button.
Now we will create the Rating dialog with the buttons.
private void rateDialog() {
    AlertDialog.Builder dialogBuilder = new AlertDialog.Builder(this);
    dialogBuilder.setTitle("Rate Us");
    dialogBuilder.setMessage("If you liked it, please rate it." +
            " If you do not like it rate it." +
            " It will help us grow.");
    dialogBuilder.setPositiveButton("Rate", (dialog, which) -> {
        // take user to the page to rate
        // and dismiss the dialog
        dialog.dismiss();
    });
    dialogBuilder.setNegativeButton("Leave it", (dialog, which) -> {
        // set a flag in system, that user do not want to rate
        // and dismiss the dialog
        dialog.dismiss();
    });
    dialogBuilder.setNeutralButton("May be, later", (dialog, which) -> dialog.dismiss());
    dialogBuilder.create().show();
}

Further customizations could be added to this AlertDialog. For instance, add icon to the title of the dialog. Or provide a complete custom layout to the dialog, or leave the title and display dialog with message and a button only. It all depends on how it needs to be displayed.
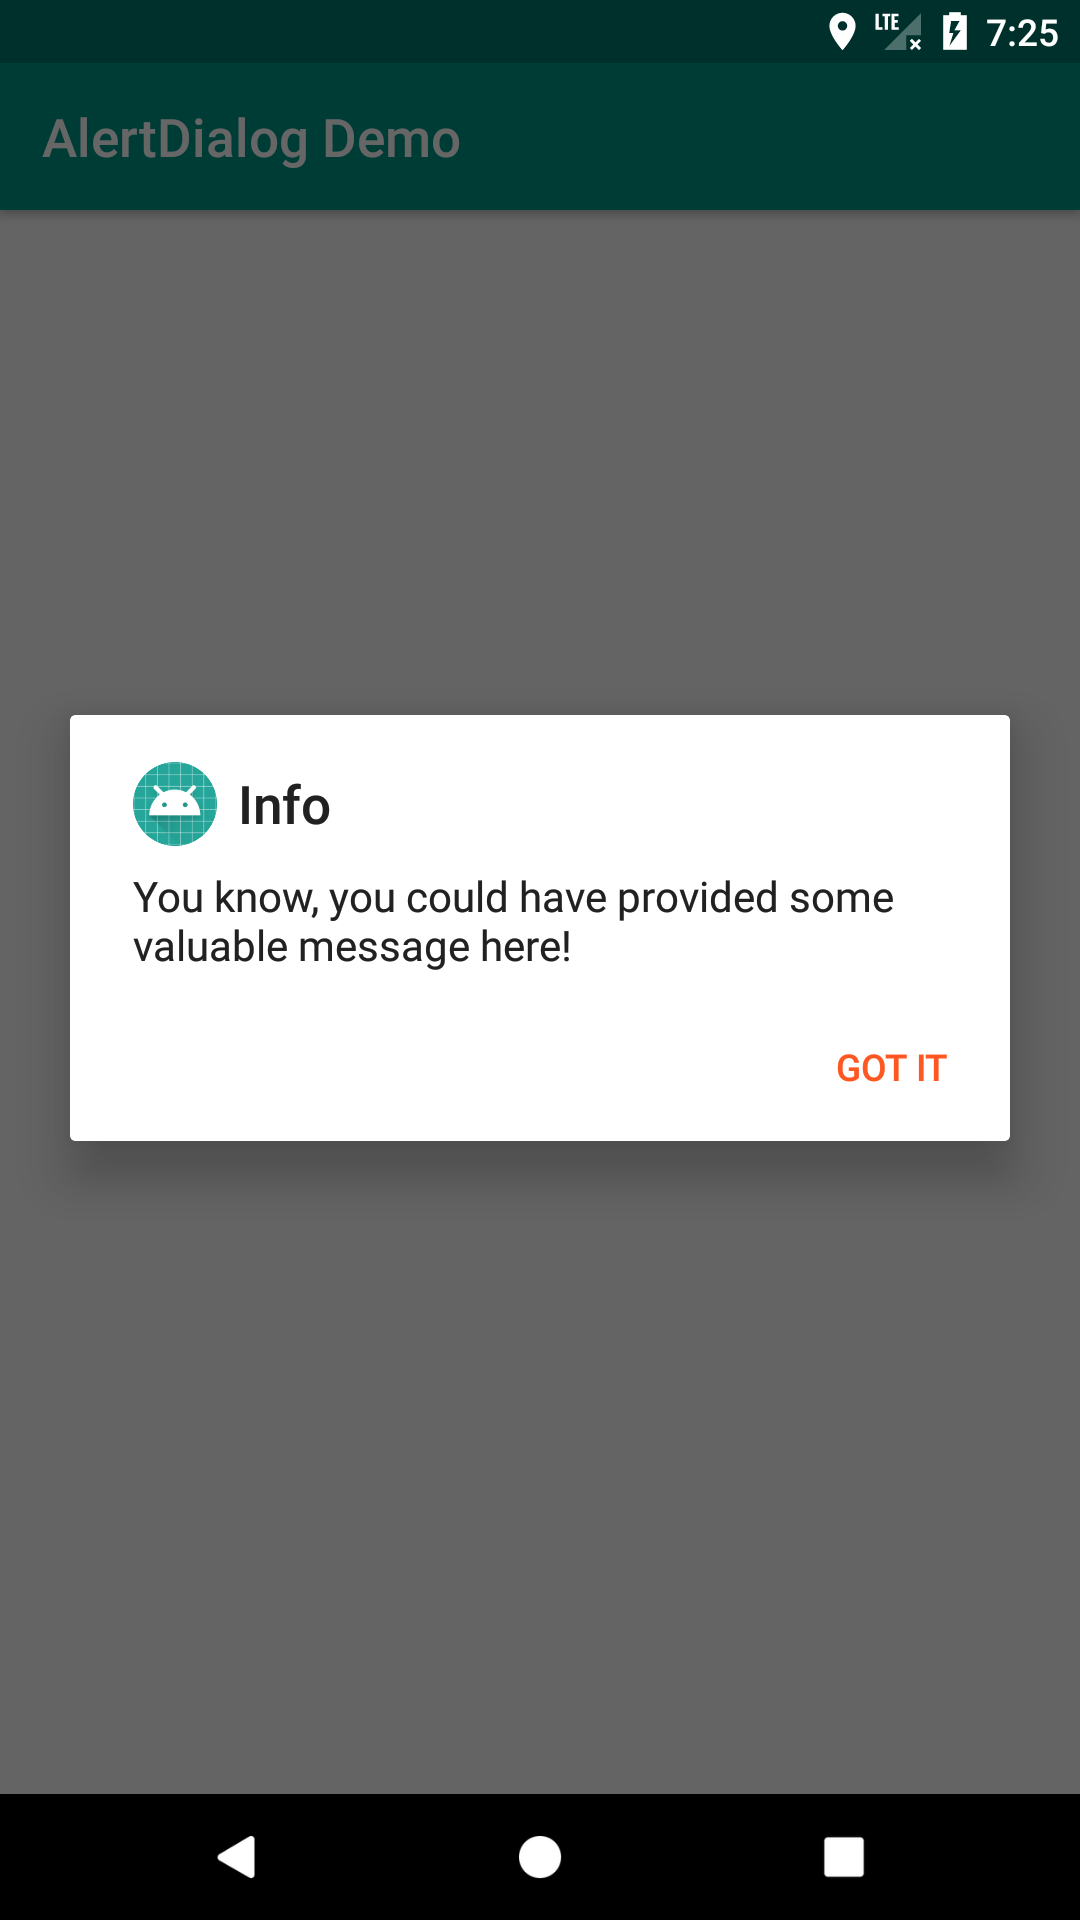
private void displayDialogWithIcon() {
    AlertDialog.Builder dialogBuilder = new AlertDialog.Builder(this);
    dialogBuilder.setTitle("Info");
    dialogBuilder.setIcon(R.mipmap.ic_launcher_round);
    dialogBuilder.setMessage("You know, you could have provided some valuable message here!");
    dialogBuilder.setPositiveButton("Got it", (dialog, which) -> dialog.dismiss());
    dialogBuilder.create().show();
}
Download Source Code